Wednesday, February 2, 2011

February...an exciting culinary adventure awaits!


In just 5 days (give or take) Aj and I will be on our way to Japan to see the glorious sights and, first and foremost, to eat. I've been raving about Kansai food for years and years, and finally he will get to experience the delicious street foods, Japanese takes on American dishes, and to taste so many dishes his head will spin just trying to remember the names of them. We're going for 7 days, and 6 nights, and we couldn't be more excited. Excited to get out of these cold, cold temperatures and bask in the sunny 50 degree weather that is Osaka and Kyoto. Sweet escape!

Of course, any time you are about to go on an extended vacation...you start to get creative with what you have in the house. "Oh well I don't want to go buy groceries we're leaving in 5 days it won't get eaten!" (Actually I've been saying this for about a week now and we still have a week to go...) So when the food variety gets low...you start to get creative with what is in the cabinets and fridge.

Sometimes, you know, these meals make the best new things - things you add to your culinary repertoire and continue to make for years. That's how a lot of casseroles get started...Or so I assume. It's how I'd come up with a casserole if I were going to come up with a casserole. This time around, though, I chose a pasta dish. We had an old, opened bottle of yummy Chardonnay on the table with about 3/4ths a cup left in it, some veggies on the brink of going bad, a little heavy whipping cream left from my whipped cream experiments, angelhair pasta, a can of super low fat veggie soup, cheese, assorted dry sundries, and some boneless skinless chicken thighs that had been defrosting for about 2 days. Hmmm....

A pasta dish seemed to be the answer... A pasta dish made with a creamy white wine and tomato sauce, with stuffed mushroom chicken breasts perhaps??? Ah, indeed. I kept thinking it sounded like a delicious and dynamite idea!

Aj says that the days when I make random foods off the cuff are some of his favorites, because they're (in his opinion) usually really good. I am a harsher critic of myself. I don't like a lot of things I make...but that's part of being a cook! This... this turned out pretty good! The pasta sauce was so delicious I only wish I had made more. It was savory, thick and rich. I did have my qualms though.

I didn't love the chicken thighs - the chicken would have been better if it were breast meat. I can't help but think the whole thing might have been even better if it were stuffed mushroom caps instead of chicken all together. Yum! Either way I'd try some different renditions of this for sure! The only problem here is that when I cook like this I don't measure...so translating into a recipe is a bit harder... We'll see what I can do for you!

Creamy Grape Tomato Pasta

  • 4 boneless skinless chicken breasts pounded thin with a meat mallet, or stuffed mushroom caps.
  • About 1/4 cup heavy whipping cream
  • 3/4 cup of white wine
  • 1/4 cup some kind of savory vegetable soup broth
  • 2 tablespoons cream cheese, if you have it
  • 1/2 a package (about 4-6 ounces) of grape tomatoes, cut in half
  • 1 cup roughly diced/chopped mushrooms
  • 1/4 cup panko breadcrumbs
  • 1/4 cup white cheddar or other savory cheese, grated (like parmesan)
  • 3-4 cloves garlic, sliced
  • 2-4 tablespoons olive oil
  • Oregano
  • Salt
  • Angelhair pasta
When making this, keep in mind that it's a "What you have" type of dish. Use what you've got - don't go out and buy a bunch of stuff to make this! If you have regular tomatoes, seed them and dice them. If you have light cream instead of heavy, it's ok! If you have regular breadcrumbs - no big deal! Use what you've got! The wine is important, so maybe you should get a bottle of any nice white wine...you know... and drink most of it.

  1. If you're using chicken, pound it flat and sprinkle it with salt and oregano on one side. If you're using mushrooms, remove the stems and lightly rinse the caps - mushrooms taste better when they're not rinsed so don't feel you have to.
  2. Put 1 tablespoon of olive oil into a large nonstick skillet (butter will work in place of olive oil) and saute the garlic for about 1 minute. Add in the diced mushrooms and drizzle a little more olive oil over the mixture and a splash of white wine and saute for another 2-3 minutes or until mushrooms are starting to shrink and cook. Remove from heat and divide the mixture between two bowls.
  3. In one of the bowls of mushrooms, mix the bread crumbs, grated cheese, and a sprinkle of salt and oregano and mix until well combined.
  4. Put 1/4th of the breadcrumb mixture onto one side of the chicken and fold over the other side, pinching the chicken shut as much as possible. Do this for all 4 pieces of chicken.
  5. Heat up the other 2 tablespoons of olive oil in the skillet and sear the chicken on both sides. You are not cooking the chicken all the way through you are just browning the outside. Remove and put on a plate.
  6. In a separate pot, bring water to a boil to cook the pasta. Heavily salt the water.
  7. Combine the wine and cream and bring to a rolling simmer. Reduce heat to medium and put the chicken into to the skillet with the sauce mixture. Add in the rest of the tomatoes and the rest of the mushroom mixture from the second bowl.
  8. Cover and let cook without interruption 10-15 minutes. You do not need to flip the chicken.
  9. By this time your water for the pasta should be boiling, so put in the pasta and let it cook 3-5 minutes depending on how firm you like your pasta. When the pasta is done, pour it into a colander and lightly toss with olive oil or pam-spray.
  10. Take the lid off and mix in the cream cheese for an extra creamy sauce. Let the cream cheese melt and stir it around to mix it in the sauce. Replace the lid and let cook a few more minutes.
  11. If the sauce is not thickening, take off the lid so some of the water can boil away, but make sure your chicken is almost done. If your chicken is not close to done, don't remove the lid.
  12. Dish the pasta into 4 portions. Place one chicken piece on top of the pasta and scoop and drizzle the sauce across the pasta. Voila. Done. Under 30 minutes. Delicious!
I hope you'll try some kind of variation on this recipe, let me know how it turns out!

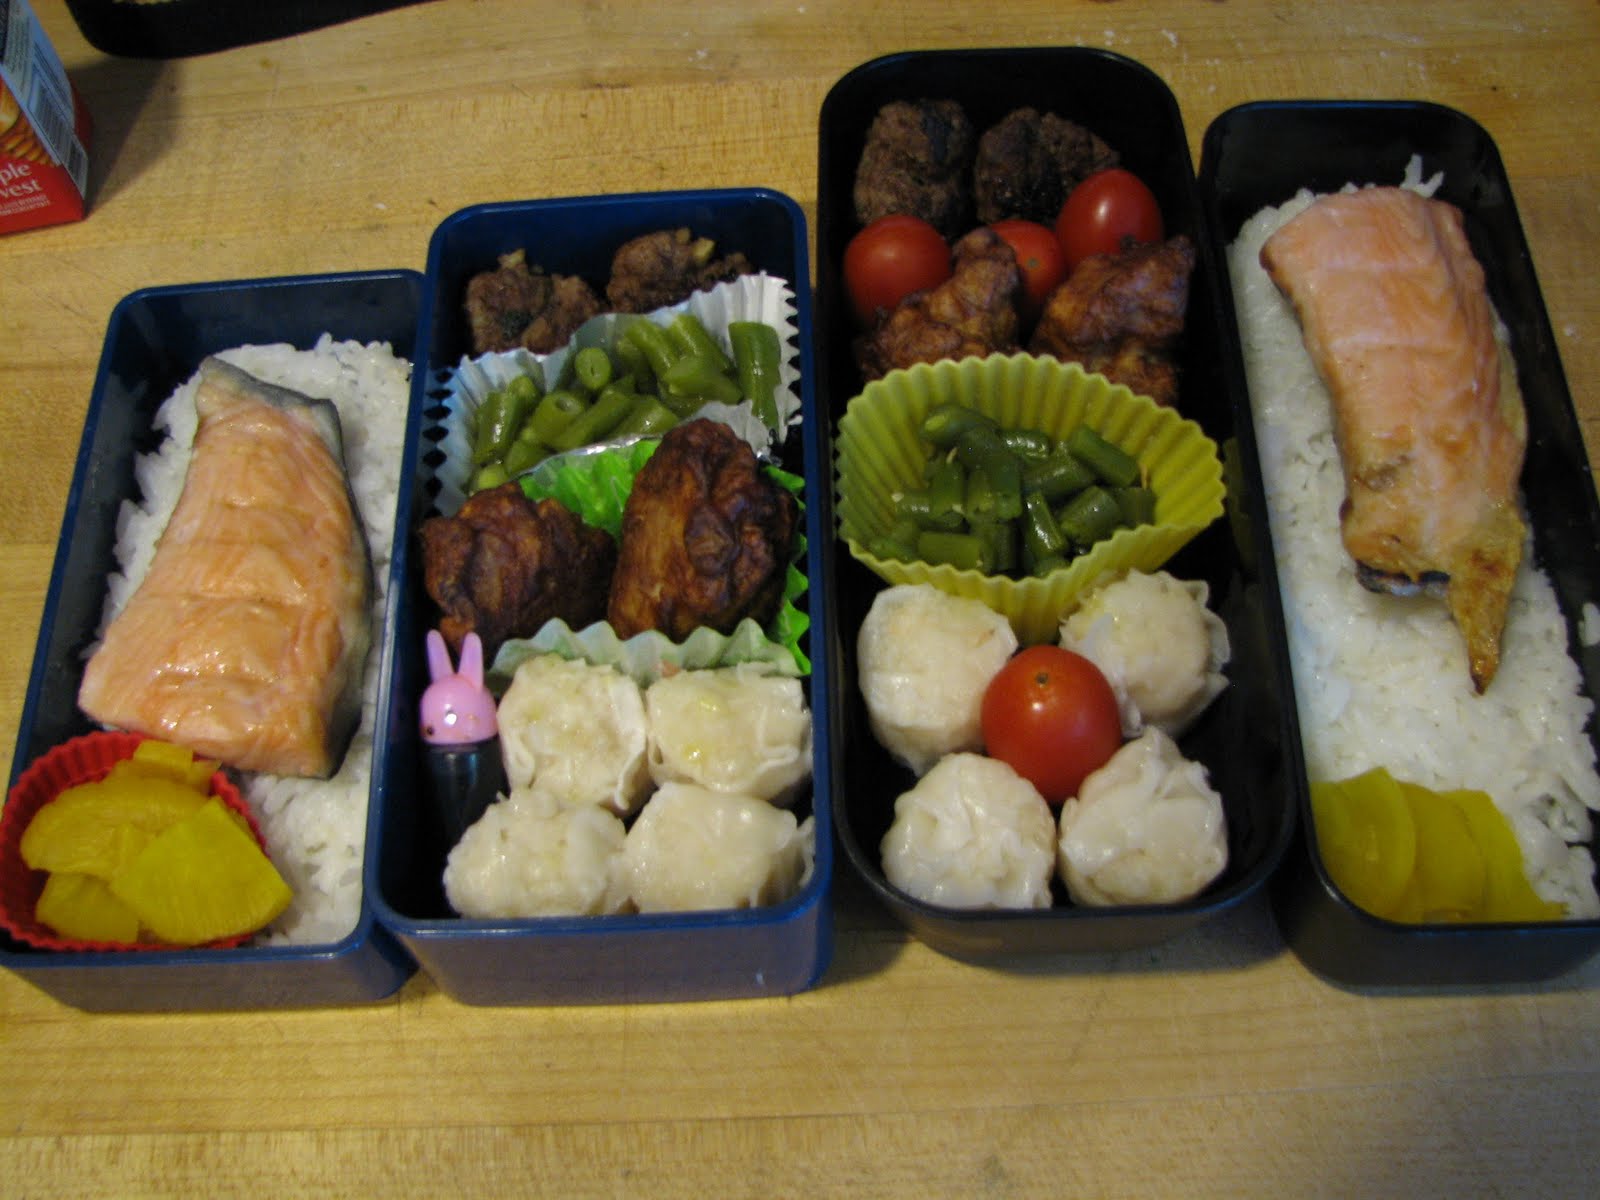
I doubt I'll have time to update before we leave for Japan but I will return with some fun photos of things we ate while there! In the mean time, here's some photos of things I've cooked during the hiatus of the last post to this one.


Wednesday, January 12, 2011

Garlic-Parmesan Pull-Apart Loaves

Holy Cannoli, Batman! Our little part of the world just brought in about 20 inches of snow. It started late last night and lasted until sundown today. We didn't even bother to open my store, and we spent most of the morning drifting in and out of happy-sleep in bed. It's been a good day. Cold...but good.

Down south we LOOOOOOVE snow. Nothing better than a snow storm. The city stops for (no joke) an inch of snow. Schools are canceled, everyone crashes their car into anything within 20 feet. It's glorious. Up here snow is a hated part of life. You tell someone you're looking forward to the snow and they look at you like you have a severe case of leprosy. That's when they know. They KNOW you're from out of town. Because, apparently, not a single soul in New England can find beauty and joy in snow. At first, I didn't understand this...it's so glorious and amazing and white and fluffy and fun! But you know what isn't fun?? Spending an hour and a half snow blowing and shoveling your driveway, and cleaning off your cars. Turns out that's not that great. Oh it's fine at first... until you get close to 2 feet and the plow truck that comes by throws ALL of the snow from the street onto YOUR side of the road, and creates a four foot blockade that you have to shovel down before you can snow blow. Well... then you start to see how SOME people could start to dislike snow.

Up here, if you have a son, he hates snow, because you make him go out and shovel it at 5 AM so you can get to work. And the wind is blowing, and the snow goes up his nostrils, and his whole body gets crusted with icy bits from the blowing snow/wind. And then he comes back in and no one has made him hot chocolate and there's no fire and he has to go to school and that's where the cycle begins. He hates snow...gradually. I mean...he likes it. He likes to skii and snowboard and sled and have forts and fights, but...mostly he hates it. There's an age where you go from liking snow up here to hating it... and I'd say that's about when you're big enough to start shoveling so your parents can quit doing it.

Me, though? I still love it. I'm making up for lost time. The most snow I had in the south was when I was about... a year old (and somehow had a snow suit, can we talk about how weird that is?) Now I love when it comes. I love when it comes on WEEKDAYS too! Weekends are not so good since it hurts my store's business, but Wednesdays...bring it on!!! So yeah, we spent a good hour and a half outside freezing cold shoveling and cleaning off our cars (only to have them piled with 4 more inches when we were done, might I add) , but we also played in the back yard with our dogs and smiled and laughed and had a fire and hot cocoa and marshmallows and hot soup when we came back in. My love for snow is infectious. Truly.

Ah all that marching around in deep snow made me tired and so I've just got a short recipe for you today. I know I've been talking about bread recently and I HAVE made two successful batches of bread, but this one is a much easier recipe I snagged from Pilsbury.com a while back at Thanksgiving. These make a super quick and DELICIOUS addition to dinner. They go great with pot roasts, stews and soups and just food in general!

Garlic-Parmesan Pull-Apart Loaves

  • 1/4 Cup butter, well softened
  • 1 clove garlic, minced
  • 3 Tbsp. Parmesan cheese (freshly grated if you have it)
  • 1 Tbsp. chopped fresh parsley (dried will do if necessary)
  • 1 can Pilsbury Grands Jr. Golden Layers biscuits
  1. Heat oven to 350°F
  2. In a small bowl, stir together butter, garlic, cheese, and parsley.
  3. Remove biscuits from packaging. On a baking pan WITH SIDES (butter will run everywhere), make 2 loaves of 5 biscuits each. Set the biscuits on their edges, just touching.
  4. Split each biscuit horizontally in half, divide butter evenly between biscuits and spread in between the split layers.
  5. Reshape loaf
  6. Bake 11 to 14 minutes or until loaves are a deep golden brown and thoroughly baked.
The first tester batch I made of these I used dried parsley, minced garlic from a jar, and bagged shredded Parmesan cheese. It was good but the second time I used all fresh ingredients and it was SO much better. I would highly recommend using fresh ingredients. Bon appetite!

Friday, January 7, 2011

Bread: Friend or Foe?

If one thing thwarts me in the kitchen, it's bread. Making bread has long since proven very difficult for me. My yeast is dead, the proofing water is not warm enough, the rising place is too warm, etc...etc...etc. It's not that I've never made a successful roll, but boy 9 times out of 10 breads involving yeast just do NOT like me.

I figured today I'd use my new purple kitchen aid stand mixer to make a bread recipe. I wanted to get that thing into action! I finally settled on a really yummy and simple looking french bread recipe from my Southern Living cookbook. Well turns out it was one of the few recipes that didn't need a dough hook...but still I proceeded.

I pulled out my yeast.... and it had expired. 6 months ago. Dammit. Well usually yeast will keep for quite a while even past the expiration date, but I was not taking chances! I knew bread was a foe and yeast was temperamental with me...so we got in the car and went to the grocery where I snagged some packets of instant yeast as recommended by my recipe.

At home I proofed it - I even used my candy thermometer to make sure the water was the right temperature. That's right. You think I'm joking when I say yeast is out to get me - I'm not! Over Easter I tried to make hot cross buns and made hot cross rocks instead.... Anyway...vendetta aside it was a successful proofing. A nice foamy yeast top. I mixed in my butter and salt and started mixing in my flour. So far, so good!

I decided to do my first rising in the oven, as it is small and I figured would be consistently warm. I had read somewhere a suggestion to crank the oven to 400 for one minute, and then turn it off and put a pan of hot water on the bottom rack. Well I only have one rack (small oven remember?) But I put it on the bottom of the stove and plopped my lovely dough bowl into the oven to rise! I set my timer...and it wasn't rising. It made it about 1/4th bigger than it began. I even let it rise an extra 20 minutes over the recommended.

As it would turn out, I think turning on the oven to warm it was a mistake since the oven is so small, and I think I killed my yeasties. Damn you yeast!!!! After 50 minutes of rising I decided it wasn't going to rise more and I punched it down and re-formed it into rolls for baking. The second rise happens at this point so I repeated the process I had before (keep in mind I didn't know I had killed my yeast with heat and that only a few were probably clinging to dear life in my dough...this came afterwards with research.) Ahhh well I got about another 1/4th rise, gave it an extra 10 minutes...and then decided to go ahead and bake that bitch cause it was MAKIN' ME MAD.

It wasn't really making me mad, just frustrated. Anyway my oven is hot as the dickens at 400 (Baking temp) and the rolls began to instantly brown...heavily. Uhg. I turned it down to 350 and let a little heat out of the oven and sat vigilantly to watch the rolls. Then I did my egg white wash for the lovely shiny crust...and then I watched vigilantly for 5 minutes until it was time to come out.

Well...at first I was extremely disappointed. The rolls were dense and thick, with a heavy yeast flavor. Ah. As I stood comparing my rolls to the rolls in the picture.... Well... let's just say I wasn't pleased. But we snagged them right off the hot pan. They smelled so good. And we ate them with some garlic parsley butter I had whipped up in anticipation for crusty french rolls. And they were good. Really, they were. It was damn sure not french bread, but they were like yummy dinner rolls. The thick yeasty kind that you meant to come out differently.

Disappointment aside, they are good. Aj's had 3 and so have I. We had them with mini mushroom-garlic hamburgers on them. I had one with blueberry Chevre (yum).

I'm sure you saw the picture up there and you said to yourself "that's the failure? Looks pretty good to me." Well thank you. But now I'll show you a picture of what it was SUPPOSED to look like and you can laugh and say "haha... frankenroll!" Jerk.

Well no matter. I have 2 days off in a row pretty soon and I plan to try again! I'd do it tonight but it's 11:19 and ... well... Yeast has bothered me enough for one day... I'll hand out the recipe for this one when I have the means to tell you how to make it come out right...

Sunday, January 2, 2011

In A Pickle

Ah, pickles. Anyone who knows me knows that I love them. I love the crunch and I love the salt. I love the variety! Garlicky, sweet, salty, spicy - Any vegetable pickle, you name it and I probably eat it. So when I got the Just Bento cookbook for Christmas from my mom and found out that I could make salty, delicious pickles in five minutes.... well... you can imagine that I was excited.

Speaking of Christmas... I got a lot of great little kitchen things for Christmas, including a kitchen timer shaped like an ice cream cone , a good meat mallet (so I can stop using my rolling pin), a set of plastic matryoshka measuring cups, and two cookbooks. I already have a beautiful set of Matryoshka measuring cups from Anthropologie, but they are ceramic and I'm too afraid to use them for fear of breaking them. The plastic ones are a great substitute and add some flare to cooking! People who know me know I love anything that combines cute and practical.

Well, back to that Just Bento cookbook -- I see on the cover some yummy looking cucumber bits...and I open it up to find that it's a super easy pickle recipe. I'm going to share it with you here, because I've already made 2 batches and Aj and I love them! The Just Bento cookbook is great - it's simple - it's quick- it's practical. It's made for the American kitchen. It doesn't have insane ingredients that you can't find.

Japanese bento is the art of a packed lunch. It's a small, containered lunch that has a lot of color and a lot of love. It's not about what you pack but how you pack it. It's decorative and functional and delicious all at the same time. I took bento a lot when I was in Japan. Naturally, loving to cook and having ready access to easy bento ingredients, I bought my first bento box and so my bento insanity began. I took bento in that bento box 3-4 times a week, and ate at the cafeteria the rest of the time. It was great. Now with a full time job, it's good to have something fun to look forward to in the middle of the day.

While this recipe is great for bento, if you love pickles, you have to try it even if you don't have any clue what a bento is :)

Instant Salted Cucumber Pickles

  • 1 English cucumber, sliced into thin rounds. (These are small, thin cucumbers. I found them pre-packaged in the produce section.)
  • 1/2 Tsp sea salt (or slightly more if you like it salty)
  • Squeeze lemon juice (I genuinely recommend using a real lemon, and not lemon juice from the bottle)
  1. In a bowl, sprinkle the salt over the cucumber and massage well with your hands until the cucumber kind of goes limp.
  2. Let rest 5-10 minutes.
  3. Add a squeeze of lemon juice. Let sit for a few minutes.
  4. Squeeze out most of the excess juices and then pack into a tupperware. Keeps for about 3-4 days in the fridge.

Tuesday, December 28, 2010

Spinach and Feta Quiche

Wow it's been a while huh? Christmas was a blur of celebration and fun, but boy do I have some exciting news!!!! I got a Kitchenaid stand mixer in Boysenberry (that's purple for you non-fruity folks) !!! Wooooo! It was a very generous gift from my husband and best friend. They like to combo-gift sometimes... And it always results in a very happy Brittany. I've always felt like a stand mixer was the last step to me becoming a real foodie. And now I am! Or will be... Target had some "shipping difficulties" (whatever that means) and it hasn't arrived yet. I will take some great photos and make something difficult in honor of it when it arrives. (Maybe a cheesecake... with whipped cream???)

In the mean time, though, I'm still cooking some good stuff in our old oven. This recipe was sent to me by my best friend Katie, and it's one of Aj's favorites! He loves it at all times of year, but I think especially in the winter. It's extremely easy to make and also very cheap! Photo to the left.

Spinach & Feta Quiche
  • 1 pre-made pie crust (in the refrigerator section, a flaky pastry crust)
  • 3 Eggs, beaten
  • 1 Cup milk mixed with 2 tbsp. flour
  • 1/4 Cup melted butter, cooled slightly
  • 1/2 Tsp. salt
  • 1/4 Tsp. fresh cracked pepper
  • 10 Oz thawed and drained spinach (squeeze the water out)
  • 4 Oz crumbled feta cheese
  1. Preheat oven to 400°F.
  2. Put pie crust into pie pan and prick all over with a fork.
  3. Bake for 5-8 minutes. Remove and set aside.
  4. Turn oven down to 375°F
  5. Combine eggs, milk/flour mixture, melted butter, salt and pepper.
  6. Stir in spinach. Then stir in feta cheese.
  7. Bake 25 minutes or until set.
  8. Let stand 10 minutes.

Tuesday, December 14, 2010

The Key to Brittles...


Remember that Homeycomb Brittle from the November Martha Stewart Living that I made a few weeks ago? Remember how I said it needed something extra? I've got the answer. A second batch of this stuff came out totally different and much more delicious. Something I'd think of making a holiday staple. The only problem is that I got impatient and chilled the chocolate covered bits in the fridge - a big no-no when it comes to milk chocolate. It makes it spotty. It doesn't taste any different but it doesn't look as nice for gift giving.

Let's go ahead and jump to the nitty gritty.

To make brittles, you need a candy thermometer. You can buy a nice one for $10 at Bed Bath & Beyond, or you can get a cheap one at the dollar store. I just upgraded from the dollar store one to the nice one. Why, you ask? The grip on the cheap one wasn't holding onto the side of the pan, and the thermometer bottom is not supposed to touch the bottom of the pan or it gives a false reading and your candies won't come out right. The nice one has a built in "cage" that prevents the thermometer from touching the bottom.

Another key thing about making brittles is patience. This honeycomb brittle is about the reverse from my family's famous peanut brittle - honeycomb brittle has a short cook time and a long dry time, and our peanut brittle has a long cook time and a short dry time. But the reason patience is key is not because you have to wait for it to dry/set/harden, though that is difficult. The reason patience is so important is because you CAN NOT leave it alone for even one minute unattended or it could ruin the whole batch. I'm quite serious.

My first batch of honeycomb brittle was good - a scorched honey taste - burned sugar flavor. But it wasn't great. The second batch I thought I'd play around with. I re-read Martha's directions and then made a few adjustments, and I think I did the right thing.

In the first batch I made, being used to cooking peanut brittle, I was constantly stirring to get it to 300°F. I think that's what gave it the scorched flavor. You see, the more you stir, the more surface area hits the boiling sugar and cools the mixture. When I didn't stir (as per Martha's directions) the mixture hit 300°F in almost record time and the brittle has a really rounded, deliciously mellow flavor.

I also decided that the brittle really needed to be covered in chocolate, and boy was that a good decision!!!! SO good it hurts.

This brittle will have people falling on their knees asking for more! Your kitchen will be acclaimed and people will want your home-made gifts of deliciousness every year. Best part about this stuff - it's wicked cheap to make! So let's get to makin'!

Chocolate Covered Honeycomb Brittle

  • 1 bag godiva MILK chocolate (Do not skimp on this, Godiva chocolates are perfect for baking and chocolate-coating. You absolutely don't want to get semi-sweet.)
  • 1 1/2 C. white sugar
  • 1/4 C. honey (I used the crystalized solidified honey that was in my pantry - Just melted it down a bit in the microwave until it came out of the bear. Perfect way to use up old honey!)
  • 1/4 C. water
  • 1 Tbsp. baking soda
  • 1/4 Tsp. vanilla
  • Wax paper
  1. In a small dish, portion out baking soda and vanilla together. Put a silicon spatula next to the dish.
  2. Find your largest baking sheet that has sides, and grease it thickly with butter. If you don't have butter (what????) use non-stick spray. The butter gives a better flavor, but it won't be the end of the world if you use spray.
  3. Bring the sugar, honey and water to a boil in a medium saucepan, stirring constantly.
  4. Put in the thermometer and turn down the heat to medium-high. It will likely get foamy and then become clear as it boils.
  5. Cook, WITHOUT STIRRING, until the candy thermometer reads 300.
  6. Remove from heat, and quickly stir in the baking soda and vanilla with the spatula, mixing until the mixture takes on a golden hue and foams up and you can't see bits of baking soda in the mixture.
  7. Pour quickly onto a baking sheet and let it sit. Do not spread.
  8. Let it cool for 45 minutes. Then break it apart into bite-sized pieces. Don't use your finger tips, but grip the pieces firmly in your hands and break with the heels of your palms for a cleaner break in the places that you want.
  9. In a microwave-safe bowl, melt 1/2 a bag of the chocolate pieces on 50% power, stirring every 30 seconds until melted.
  10. Lay out wax paper.
  11. Dip the honeycomb brittle in the chocolate mixture and lay out on the wax paper.
  12. Patiently wait for it to dry and do not put it in the fridge.
  13. Devour and make a second batch for gift-giving.
Note for storage: Store brittle in layers between wax paper in tins. Tupperwares do not work as well as tins and bad plastics can imbue smells and tastes into your food. If the gift isn't going to be given for a few days, place a sheet of wax or parchment paper over the tin and then seal the lid on top of it, and trim around it. You do not want to store brittles in with any other cookies or baked goods, because they will suck the moisture out of the other foods and become soft and gummy. Plastic baggies are OK for brittles that will be consumed in 1-2 days.

Monday, December 13, 2010

A Hot and Sour December Day

We're officially in the middle of December. It seems crazy to think that Christmas is a mere 12 days away. (And a partridge in a pear tree) I've gotten most of my holiday shopping done and am just picking away at the loose ends at this point. We've taken our Christmas photo for the year (though none of them really turned out well) and the tree is decorated and has presents under it (and the stockings are hung by the chimney with care) and my car radio is essentially permanently stuck on a non-stop Christmas music station. We're in full swing here, people!

But it's funny. You know, December in the great white north --- except it's not white. No, it's actually rainy. Not freezing rainy that poses potential threats with ice and heavy power lines. No it's a balmy 50 degrees and yesterday it didn't stop raining for even one minute. If it were snow, we'd have a foot on the ground right now. But it's rain and instead I have a puddle in my yard. I woke up this morning and the thermometer outside showed a warm 55 degrees. I cringe. I live in fear that we will have a winter without a good snow. It's ridiculous to think that, but I still worry.

This morning started off good. I was productive. Tossed some laundry in the washer and started some hot and sour soup (recipe to follow) that seemed too easy to be true. Things were going well. It was 10:30 and I had just settled down with a taste test of soup and I got a call from work. The cashier hadn't shown up. So I'm immediately tossed into scramble-mode. I switched my laundry to the drier, doled out the soup into to-go containers, got dressed, speed-straightened my hair, did my makeup, etc, etc. And out the door in 30 minutes flat! I find that somewhere between miraculous and phenomenal.

The soup was damn amazing, but the rest of the day has kind of been an exhausting drag. Believe me when I say I'm glad to have tomorrow off to get some nice R&R. I am contemplating trying to make another round of this soup using a vegetable stock or bouillon instead of the chicken stock. This hot and sour soup recipe was quick, easy, and really delicious! I felt like I was eating at a yummy Chinese restaurant and there wasn't even MSG!

For some reason, a good hot and sour soup recipe seems to be coveted. I've already had a few requests from work for this soup. I'm just glad I found an easy, authentic-tasting, not-from-a-packet recipe! Not to mention that it's low fat....

If you like your hot and sour soup with meat, replace 1/2 C. of mushrooms with 1/2 C. of pork or chicken.

Hot and Sour Soup
  • 4 C. chicken broth or stock
  • 3 Tbsp. soy sauce
  • 1 c. mushrooms, diced
  • 1/3 c. frozen or fresh peas
  • 1/2 Tbsp. garlic chili sauce (Sriracha)
  • 1/4 Tsp. ground pepper (Cracked pepper - regular powdered pepper will NOT give you the same taste)
  • 1/4 C. white vinegar
  • 1/3 C. canned bamboo shoots, julienned
  • 3 oz firm tofu, cut into 1/4 inch cubes (I used Nasoya and had good results but be careful, a block of tofu is usually 14-16 oz and you only need 3 oz for this recipe)
  • 2 Tbsp. corn starch
  • 2 Tbsp. cold water
  • 1 egg, beaten
  • 2 green onions, including stalks, diced
  • 1/2 Tsp. sesame oil
  1. Bring the broth to a simmer, and add soy sauce, mushrooms and garlic chili sauce. Simmer for 5 minutes.
  2. Add the pepper, vinegar, bamboo shoots, tofu and peas. Simmer for 5 minutes.
  3. Combine the cornstarch and water until very smooth and milky, and then add to soup and stir well. Simmer for 5 minutes.
  4. Stir in beaten egg in a slow stream. Don't dump it all at once.
  5. Wait 30 seconds and add green onions and sesame oil. Remove from heat.
  6. Serve!